
In the fast-evolving world of AI assistants, OpenClaw AI stands out as a powerful, open-source tool that puts control back in your hands. With over 180,000 GitHub stars and millions of users exploring its capabilities, this autonomous agent runs locally on your device, ensuring privacy while handling tasks like email management, web browsing, and more. Whether you’re a tech enthusiast or a professional seeking efficiency, this guide will walk you through the OpenClaw AI setup from GitHub, including download, installation, and a hands-on tutorial to get you started.
What is OpenClaw AI?
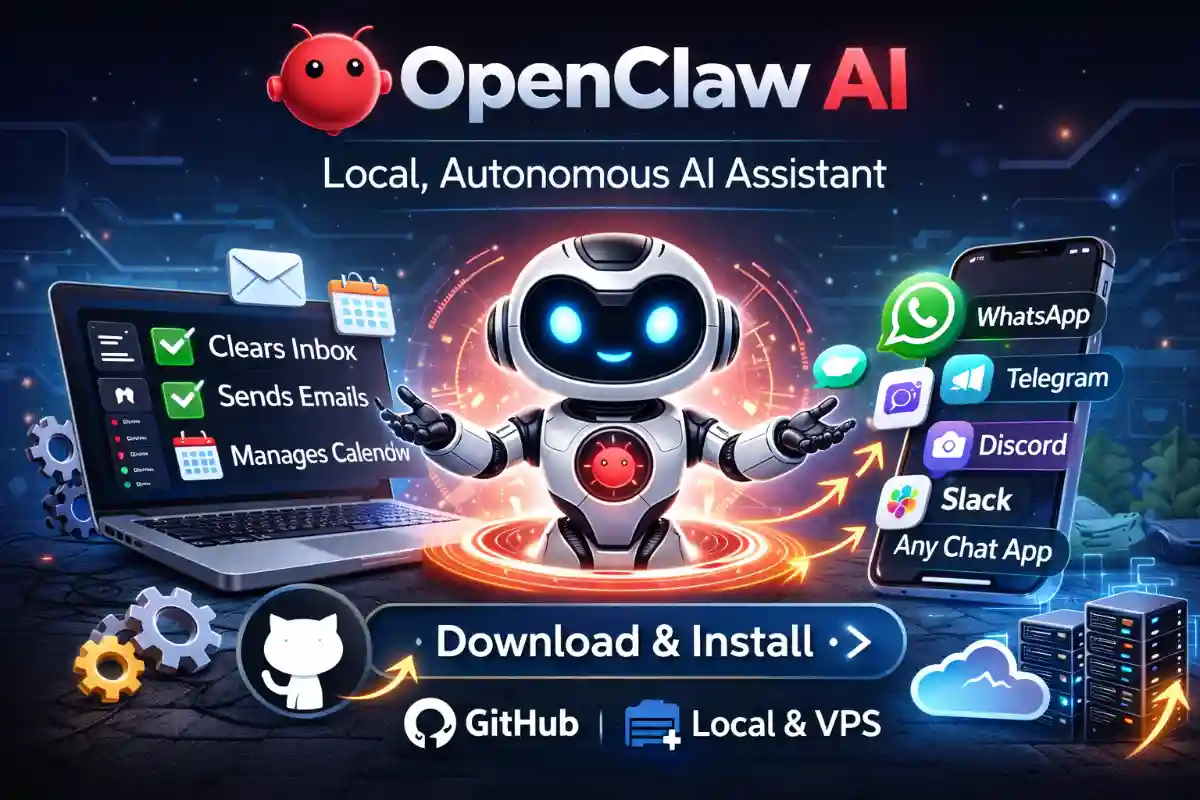
OpenClaw AI, formerly known as Clawdbot and Moltbot, is a free and open-source AI agent designed to act as your personal assistant. It integrates seamlessly with popular chat platforms like WhatsApp, Telegram, Discord, and Slack, allowing you to interact via messages or voice commands. Unlike cloud-dependent tools, OpenClaw operates on your own hardware—be it a Mac, Windows PC, Linux machine, or even a Raspberry Pi—keeping your data secure and private. Its agentic architecture enables it to browse the web, execute code, manage files, and automate routines, making it a game-changer for productivity.
Key Features That Make OpenClaw AI a Must-Try
OpenClaw AI boasts an impressive array of features that go beyond basic chatbots. It supports multi-channel communication across apps, voice interactions with ElevenLabs integration, and a live Canvas for visual workflows. With persistent memory, it remembers your preferences over time. Advanced tools include browser control for automated web tasks, system access for file and script management, and extensible skills that you or the community can build. Recent updates have enhanced security with sandboxing and allowlists, addressing common concerns in AI deployment.
Prerequisites for OpenClaw AI Setup
Before diving into the OpenClaw GitHub download and install process, ensure your system meets these requirements. You’ll need Node.js version 22 or higher, which powers the runtime. A compatible operating system like macOS, Windows (via WSL2), or Linux is essential. For model integration, have API keys ready from providers like Anthropic or OpenAI. Optional but recommended: Docker for sandboxing and Tailscale for secure remote access. No advanced coding skills are required, but familiarity with the terminal will help.
Step-by-Step OpenClaw Install Guide
Getting OpenClaw up and running is straightforward, thanks to its user-friendly onboarding wizard. Follow these steps for a smooth OpenClaw install on your device.
Downloading OpenClaw AI from GitHub
Start by visiting the official OpenClaw GitHub repository. While you can clone the repo for development, the easiest OpenClaw AI download method is via the install script or npm. For the script, open your terminal and run the curl command provided in the docs. This automates the download and setup, installing dependencies in minutes. If preferring manual control, use npm to globally install the latest version directly from GitHub.
Running the Installation
Once downloaded, execute the install command. On macOS or Linux, the script handles Node.js if missing. For Windows, use WSL2 for best results. After installation, run the onboarding command to launch the wizard. This interactive tool guides you through configuring the gateway, which acts as the central hub for sessions, channels, and tools. Expect the process to take about 10-15 minutes, depending on your setup.
Configuring Your OpenClaw AI Workspace
Post-installation, set up your workspace. The wizard prompts for API keys to connect AI models—Anthropic’s Claude is recommended for its robust context handling. Customize settings in the config file located in your home directory. Enable features like voice mode or cron jobs for automated tasks. Use the doctor command to validate your setup, ensuring everything from ports to permissions is correctly configured.
Integrating OpenClaw with Chat Apps
One of OpenClaw’s strengths is its seamless integration. For Telegram, create a bot and add its token via the CLI. Similarly, set up WhatsApp using a QR code scan or Slack with app credentials. Once connected, pair your device and approve DMs for secure communication. This step unlocks hands-free interaction, where you can message your AI from any app to trigger actions like sending emails or checking calendars.
How to Use OpenClaw: A Practical Tutorial
Now that setup is complete, let’s explore how to use OpenClaw. Start by sending a simple message via the CLI or your chosen chat app, like “Summarize my inbox.” The AI responds in real-time, using tools to execute tasks. Experiment with commands: /new for a fresh session, /think for detailed reasoning, or custom skills for specialized functions. For voice users, enable wake words on supported devices. As you interact, OpenClaw learns, making it more efficient over time.
Advanced OpenClaw Tutorial Tips
For power users, dive deeper with custom skills. OpenClaw can write and install its own plugins—ask it to “Create a skill for GitHub repo management.” Set up proactive agents with cron for reminders or backups. Explore the WebChat UI for visual monitoring. If running on a VPS, use Docker for 24/7 availability. Remember to update regularly via the update command to access new features and security patches.
Setting Up OpenClaw on Hostinger VPS for 24/7 Availability
To run OpenClaw AI around the clock without keeping your local machine powered on, setting it up on a Virtual Private Server (VPS) is an excellent option. Hostinger offers affordable and reliable VPS hosting starting at $4.99 per month, with plans that include dedicated CPU, RAM, and storage. This setup is ideal for Node.js-based applications like OpenClaw, ensuring constant availability for your AI assistant.
Step 1: Purchasing and Initial Setup
Begin by signing up for a Hostinger VPS plan. Navigate to the Hostinger website, select VPS hosting, and choose a plan that suits your needs—KVM 1 or higher is recommended for smooth performance. During setup, select Ubuntu as your operating system and opt for the OpenLiteSpeed + Node.js template if available. This pre-installs Node.js, saving you time. Complete the purchase, set a strong root password, and wait for the server to provision, which typically takes a few minutes.
Step 2: Accessing Your VPS
Once your VPS is ready, access it via SSH. On macOS or Linux, open the terminal and use the command: ssh root@your-vps-ip-address. For Windows, use PuTTY. Enter your root password when prompted. Hostinger’s hPanel provides easy access to your VPS IP and management tools, including a built-in console for browser-based access.
Step 3: Installing Node.js (If Not Pre-Installed)
If you didn’t select the Node.js template, install it manually. Update your system with sudo apt update && sudo apt upgrade -y. Then, install Node.js using Node Version Manager (NVM) for flexibility: curl -o- https://raw.githubusercontent.com/nvm-sh/nvm/v0.39.7/install.sh | bash. Load NVM with source ~/.profile, then install the latest LTS version: nvm install –lts. Verify with node -v—it should show version 22 or higher.
Step 4: Deploying OpenClaw
With Node.js ready, follow the standard OpenClaw install steps. Download from GitHub using npm install -g openclaw (assuming the package name). Run the onboarding wizard to configure. For persistence, use PM2: npm install -g pm2, then pm2 start openclaw –name “openclaw-ai”. Save the process list with pm2 save and set it to start on boot: pm2 startup. Optionally, use Docker for containerization: pull the OpenClaw image if available, or build one from the repo.
Step 5: Security and Optimization
Secure your VPS by creating a non-root user: adduser yourusername, then add to sudo group: usermod -aG sudo yourusername. Disable root SSH login by editing /etc/ssh/sshd_config and setting PermitRootLogin no, then restart SSH: sudo systemctl restart ssh. Set up a firewall with UFW: sudo ufw allow OpenSSH, sudo ufw enable. For remote access, configure Tailscale or a VPN. Monitor performance via hPanel and scale your plan as needed.
To get started with Hostinger VPS and enjoy reliable hosting for your OpenClaw setup, sign up using Hostinger. This supports our content while providing you with great deals.
Security Best Practices for OpenClaw AI
While powerful, OpenClaw grants system access, so prioritize security. Run it on a dedicated machine or in a sandbox. Use allowlists for trusted contacts and Tailscale for encrypted remote connections. Regularly audit with the built-in tools and avoid unverified community skills without review. Following these practices ensures your OpenClaw experience is safe and reliable.
With this comprehensive OpenClaw tutorial, you’re equipped to harness the full potential of this innovative AI. From quick setups to advanced automations, OpenClaw AI transforms how you work and interact with technology. Dive in today and experience the future of personal AI assistance.
FAQs
Is OpenClaw AI free to use?
Yes, OpenClaw AI is completely open-source and free to use. However, you may need API keys from providers like Anthropic or OpenAI.
Does OpenClaw AI run locally?
Yes, OpenClaw runs locally on your device, ensuring better privacy and control over your data.
Can I install OpenClaw on a VPS?
Yes, you can deploy OpenClaw on a VPS like Hostinger using Node.js and PM2 for 24/7 availability.
What are the system requirements for OpenClaw AI?
You need Node.js v22+, macOS/Linux/Windows (WSL2), and optional Docker for sandboxing.


")