
Nothing kills the vibe faster than booting up VRChat only to hit the dreaded “failed to authenticate servers” message. Whether you’re on PC, Quest, or another headset, this login roadblock stops you from joining friends, exploring worlds, or even accessing your account. The good news? It’s almost always fixable in minutes with proven troubleshooting steps that thousands of players have used successfully.
If you’re staring at the VRChat failed to authenticate servers error right now, follow this complete guide. We’ve packed it with the most effective solutions, from quick restarts to advanced network tweaks, so you can get back into the metaverse fast.
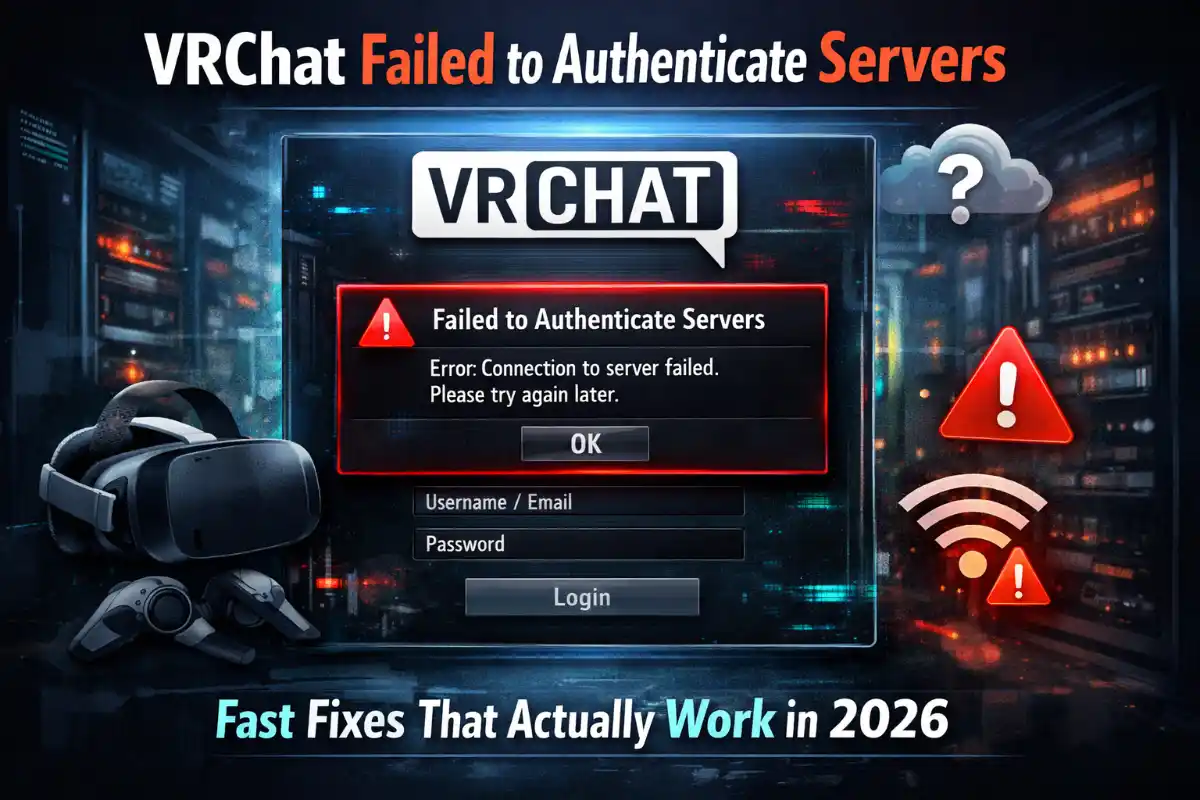
What Does the VRChat Failed to Authenticate Servers Error Mean?
This message appears when your VRChat client cannot complete the handshake with the game’s realtime servers. Authentication relies on stable connections to services like Cloudflare, AWS, and Photon. When something blocks or delays that connection — whether on your end or briefly on VRChat’s — the error pops up and kicks you back to the login screen.
It’s one of the most reported issues in recent years, but it rarely signals a permanent problem. Most cases trace back to simple network hiccups, outdated settings, or temporary interference rather than a full server outage.
First Things First: Check VRChat Server Status
Before changing any settings, confirm whether the issue is on VRChat’s side. Head to the official VRChat status page and look at Authentication/Login and API indicators. As of March 2026, all core systems are operational following a brief early-morning API hiccup that has since been resolved.
If everything shows green, the fix is almost certainly on your device or network. If you see yellow or red, wait 15–30 minutes and try again — server-side problems usually clear quickly.
Quick Wins to Fix VRChat Failed to Authenticate Servers
Restart Everything
Power cycle your router, modem, PC or headset, and VRChat itself. Close the game completely, wait 30 seconds, then relaunch. This single step resolves the majority of authentication glitches by refreshing your IP address and clearing temporary connection glitches.
Switch to Default Avatar and Log In
Many players report instant success simply by resetting their avatar to the default before attempting login. Launch VRChat, choose the basic robot or default option if prompted, and complete the sign-in process. Once inside, you can switch back to your favorite avatar.
Change Your VRChat Password
Expired or corrupted login tokens often trigger the failed to authenticate servers message. Log into the VRChat website on any browser, change your password, then restart the game and log in with the new credentials. This forces a fresh authentication token and fixes stubborn account-side issues.
Network and Connection Fixes That Solve Most Cases
Use Cloudflare WARP (1.1.1.1)
Download the free Cloudflare WARP app (also known as 1.1.1.1) and enable it before launching VRChat. This tool routes your traffic through Cloudflare’s optimized network, bypassing ISP routing problems and regional outages that commonly cause authentication failures. Players worldwide, especially during Cloudflare-related disruptions, report this as a game-changing fix.
Disable IPv6 and Try Alternative DNS
IPv6 can conflict with VRChat’s realtime servers on many home networks. In your router settings or Windows network adapter properties, disable IPv6. Then switch your DNS to Cloudflare’s public servers (1.1.1.1 and 1.0.0.1) or Google’s (8.8.8.8). These changes dramatically improve connection stability for many users facing the VRChat failed to authenticate servers error.
Allow VRChat Through Firewall and Antivirus
Security software often blocks the ports VRChat needs for authentication. Add exceptions for VRChat.exe and all related processes in Windows Firewall, your antivirus, and any third-party security suites. Temporarily disable them to test, then re-enable after confirming the fix works.
Advanced Troubleshooting When Nothing Else Works
Verify Game Files and Clear Cache
On Steam, right-click VRChat, select Properties → Installed Files → Verify integrity of game files. For Oculus or standalone installs, delete the cache folder (usually found in %AppData%\..\LocalLow\VRChat\VRChat). This removes corrupted files that interfere with server authentication.
Reinstall VRChat Completely
If the error persists, fully uninstall the game, delete leftover folders in AppData and Program Files, then reinstall fresh. This eliminates any lingering configuration problems that restarts and file verification miss.
Sync Your System Clock
Authentication relies on accurate time stamps. Right-click the clock on your Windows taskbar, select Adjust date and time, and turn on “Set time automatically.” Incorrect system time is a sneaky but common cause of login failures.
Preventing the VRChat Failed to Authenticate Servers Error in the Future
Keep your network stable by using a wired connection when possible, avoid running heavy VPNs or traffic-shaping software while playing, and update your graphics drivers and Windows regularly. Enabling Cloudflare WARP as a permanent lightweight background tool also keeps authentication smooth during peak hours or regional network strain.
With these steps, most players resolve the VRChat failed to authenticate servers error within 10–15 minutes. If the problem continues after trying everything, submit a ticket through the official VRChat support portal with your log files — the team responds quickly to persistent cases.
Now grab your headset, run through the fixes, and jump back into the incredible worlds waiting for you. The VRChat community is always more fun when everyone can connect without hassle. See you inside!


")